-
Enable SSO in the Imagen Admin Interface
2. At this point we require two files to create a trusted connection, a Key and Certificate.
These files can be generated by using the OpenSSL binary:
3. Once this file is created click ‘Browse’ and then add the .pem file, once added, click the ‘Upload .crt or .pem file’ button
Populate the remaining fields.
- Organisation name
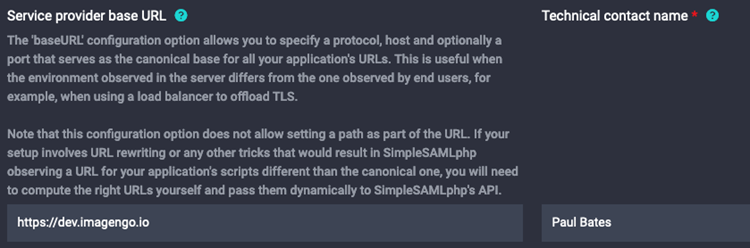
- Technical contact name
Here we will specify the technical contact responsible for the service provider
- Technical contact email address
Now we specify an email address to be used for the Technical contact. This may be the group address of an IT department.
💡Pro Tip: If you are configuring an Imagen instance behind a load balancer (this will likely be the case if the site is running inside a Kubernetes cluster - be sure to also fill out the Service provider base URL field with the FQDN of the site in question, for example: https://your_service_proivider
4. The IDP (identity provider) will need a copy of your provider’s XML file, which
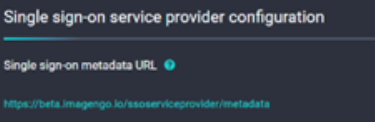
can be downloaded from the URL listed under the “Single sign-on metadata URL” field (Right). Before sending it, double-check that the value in the “entityID” attribute matches the value of the “Entity ID” field on this page. If it doesn’t, change it in the XML.
Setting up an Organisation
An organisation needs to be created to manage the users from your SSO.
You can now use the following URL to log in: https://your_imagen_domain/organisations/login/[Organisation ID Number]